

A thin line beside a weld, a dull crease under the paint, or an unfamiliar click when climbing can be the first sign of a serious problem. To diagnose bicycle frame cracks properly, treat every suspected defect as a structural question rather than a cosmetic one. The immediate decision is simple: if there is any doubt that the frame, fork, handlebar or stem is compromised, stop riding it until it has been assessed.
A cracked frame does not always fail dramatically, and that is precisely why riders can miss it. Fatigue damage often develops over many load cycles, progressing from a tiny surface indication to a complete fracture. The job is to establish what the mark is, why it has appeared, how far it extends, and whether the surrounding structure remains fit for use.
Start with the conditions in which the mark appeared
Before cleaning or probing the area, consider the bike’s recent history. A crack following a crash, roof-rack incident, transport damage or a heavy strike is different from one that has appeared gradually on a well-used endurance bike. Both require care, but they point towards different failure mechanisms.
Note where the mark is and what changed before you found it. Has the bike developed creaking under torque? Does the rear wheel now sit slightly off-centre? Has paint begun lifting around a weld, dropout, bottle boss or suspension pivot? A change in handling, alignment or noise does not prove a fracture, but it gives an engineer useful evidence.
Remove dirt, chain oil and road film with a mild cleaner, then dry the area thoroughly. Good light matters. Use a bright inspection lamp held at a shallow angle across the tube, rather than shining it directly at the suspected line. This makes raised paint edges, dents, ripples and fine discontinuities much easier to see. A mobile phone photograph can help record progression, but it is not a substitute for close inspection.
How to diagnose bicycle frame cracks by material
The same visible mark can mean very different things on steel, aluminium, titanium and carbon fibre. Material knowledge prevents both dangerous complacency and unnecessary panic.
Steel frames
Steel is relatively forgiving and may bend before it cracks, but it can still fatigue, particularly beside brazed joints, bottle bosses, rack mounts and corrosion pits. Surface rust can conceal a crack, especially beneath cables or around the bottom bracket shell. Look for a sharp, continuous line that remains visible after cleaning, or paint that has separated in a narrow line following a tube or weld boundary.
A dent is not automatically a structural failure. Its severity depends on tube diameter, wall thickness, location and direction of loading. A deep dent in a slender top tube deserves more concern than a small mark in a heavily butted touring chainstay. Corrosion changes the calculation: a seemingly modest dent combined with internal rust may require detailed assessment.
Aluminium frames
Aluminium does not have the same practical fatigue endurance behaviour as steel or titanium. Repeated stress can initiate cracks, often at weld toes, chainstay bridges, head tube junctions, dropouts and suspension interfaces. Fine cracks in aluminium may look like a dark hairline close to a weld, sometimes accompanied by powdery oxidation or lifted paint.
Do not assume a cracked aluminium frame is beyond consideration, nor assume that welding alone is a solution. Many heat-treated aluminium frames depend on carefully controlled material properties after manufacture. A viable repair requires an engineering judgement on alloy, tube geometry, heat effects, access, alignment and the original cause of the failure. Simply filling the visible crack may leave the frame weaker or move the problem elsewhere.
Titanium frames
Titanium is highly corrosion-resistant and well suited to long-life frames, but it is not immune to fatigue damage. Cracks can occur around welds, bottom bracket shells, head tubes, dropouts and areas altered by poor clamping, impacts or inadequate design for the rider and intended load.
Titanium failure analysis needs more than a quick visual check. Weld quality, alloy compatibility, tube wall condition, stress concentration and the loading that caused the crack all matter. A repair may be entirely worthwhile where the frame can be properly prepared, welded and reinforced if necessary. Equally, a recurring crack can indicate that the local structure needs redesign rather than another weld over the same line.
Carbon fibre frames and forks
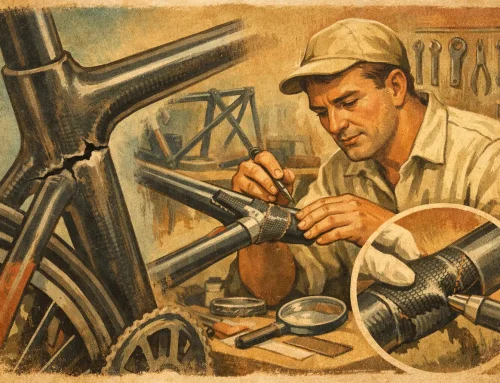
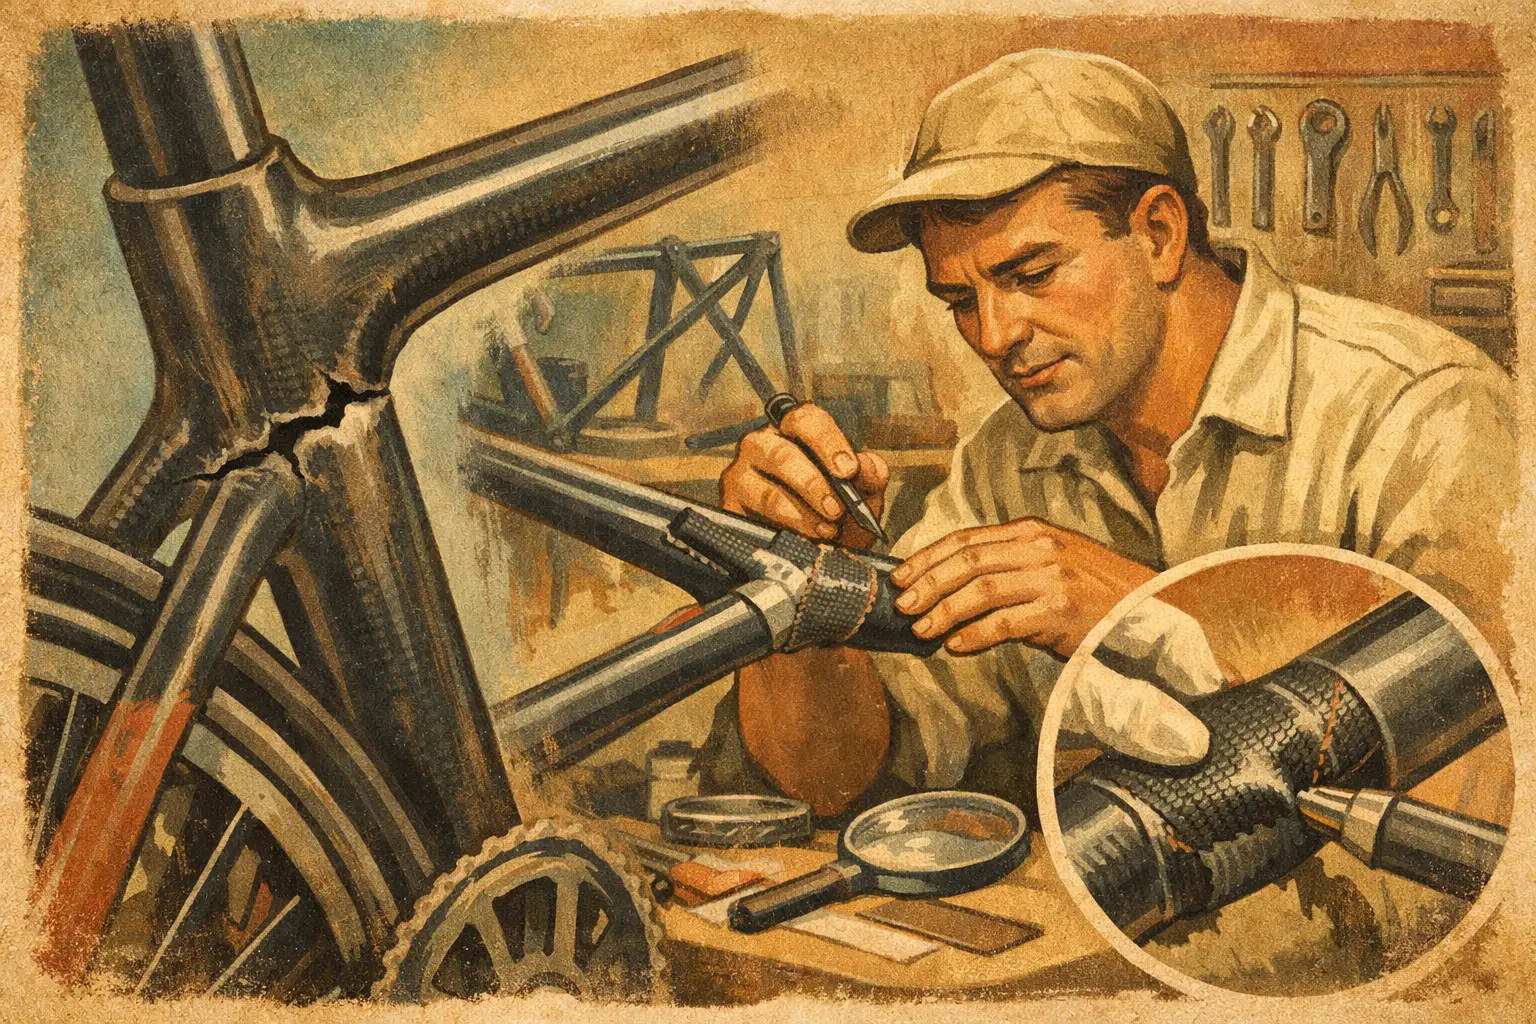
Carbon damage is frequently misunderstood because the material does not behave like metal. A clear split, soft area, crushed tube or visible fibres is an obvious stop-riding issue. Less obvious damage may appear as a paint crack, a change in surface reflection, local bulging, a dull sound when compared carefully with an unaffected area, or a line radiating from an impact point.
Paint cracking on carbon can be superficial, particularly around joints or high-flex areas. Yet it can also mask delamination or broken fibres below the finish. Pressing aggressively on the area or repeatedly tapping it with a coin is not a reliable diagnosis and can add damage. Inspection should consider the impact history, the component’s load path and, where appropriate, non-destructive examination before deciding on repair or replacement.
Separate paint damage from structural damage
Paint cracks are common around welds, bonded joints and areas that flex slightly in normal service. They tend to be irregular, shallow and confined to the coating. A structural crack is more likely to form a defined line, continue across material boundaries, collect dirt, widen under gentle frame movement, or correspond with a noise or alignment issue.
That distinction is useful, but it is not definitive. Powder coat can hide early metal fatigue. Decals can conceal impact damage. A glossy carbon finish can make a harmless clearcoat mark look alarming, while a serious internal fracture remains almost invisible. If the mark is in a high-consequence area – the head tube, fork crown, steerer, handlebar, stem, bottom bracket, dropouts or suspension pivot – caution is the sensible option.
Never use solvent, a blade, drill, grinder or sandpaper to investigate a suspected crack unless you understand the material and the intended inspection or repair process. Removing paint can reveal useful evidence, but it can also damage fibres, thin a tube, spread corrosion exposure and complicate a repair.
Inspect the surrounding structure, not just the line
A crack is often the final symptom, not the original fault. Check for seized suspension pivots, worn bearings, loose axles, incorrect wheel dish, damaged derailleur hangers, overloaded luggage mounts, unsuitable child-seat fittings, corrosion, poor rack installation or repeated chain impact. On e-bikes and cargo-capable machines, motor torque, battery mass and higher mileage can expose weaknesses that were not apparent in lighter use.
Fit also matters. An excessively long seatpost, a clamp tightened beyond specification, a saddle rail problem or a poorly supported frame bag can introduce concentrated loads. So can a hard crash with no obvious external scar. The goal is not merely to make a crack disappear. It is to return the bicycle to safe service without preserving the condition that caused the damage.
When to stop riding immediately
Stop riding at once if you can see exposed carbon fibres, a split tube, a crack at a weld, a fracture near the head tube or bottom bracket, movement at a joint, a bent fork, or any damage to handlebars, stem or steerer. The same applies if a crack has appeared after a collision, even where the bike still rolls normally.
Do not attempt a test ride to see whether it gets worse. Pedalling hard out of the saddle, braking downhill and hitting a pothole impose far greater loads than a static inspection. A frame that looks intact on the workshop floor can fail under those peak forces.
Remove accessories that obstruct the area, keep the bike dry, and bring it for inspection without dismantling or altering the damaged section. Photographs of the mark and a clear account of the bike’s use, mileage, crashes, modifications and previous repairs will help establish the likely cause.
What a proper frame assessment involves
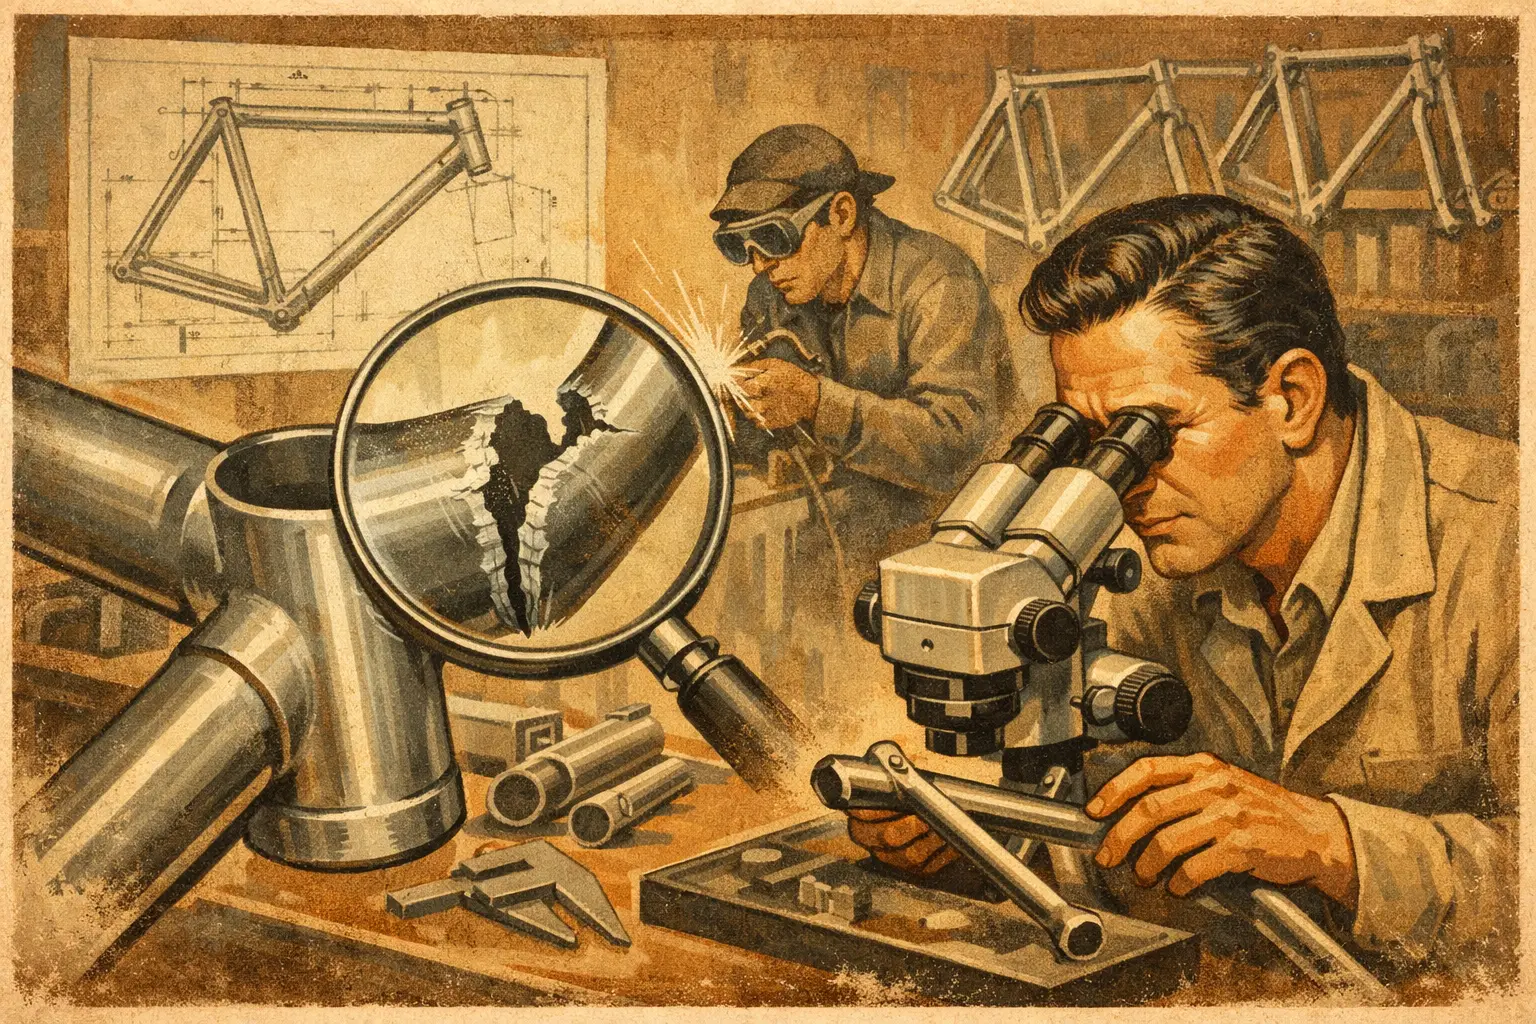
A credible assessment begins with visual inspection and measurement, but should not end there. The engineer considers tube alignment, joint geometry, corrosion, local deformation, component interfaces and loading history. Depending on the frame material and suspected fault, this may include controlled paint removal, magnified inspection, dye penetrant methods for suitable metals, alignment checks and carbon-specific non-destructive assessment.
The repair decision is then based on more than whether a crack can physically be welded or patched. It must account for safety, remaining service life, ride use, rider mass, luggage or motor loads, repair access and value. A restored steel touring frame may be an excellent candidate for a durable repair. A heavily damaged carbon fork or a cracked handlebar is usually a replacement decision. There is no honest one-rule answer.
At Ewhurst Bikes, frame failure analysis is approached as engineering work: identify the failure mode, assess the whole structure, and specify a repair or reinforcement that addresses the cause where possible. That is particularly valuable for titanium frames, where a sound repair can offer many more years of service when the material, weld and surrounding design are properly understood.
If you have found a suspicious mark, resist the urge to write it off as cosmetic or to cover it with tape and carry on. Put safety first, preserve the evidence, and arrange an inspection before the next ride. A careful diagnosis can save a valuable frame, while an early decision to stop can prevent a far more costly failure.






Leave A Comment