
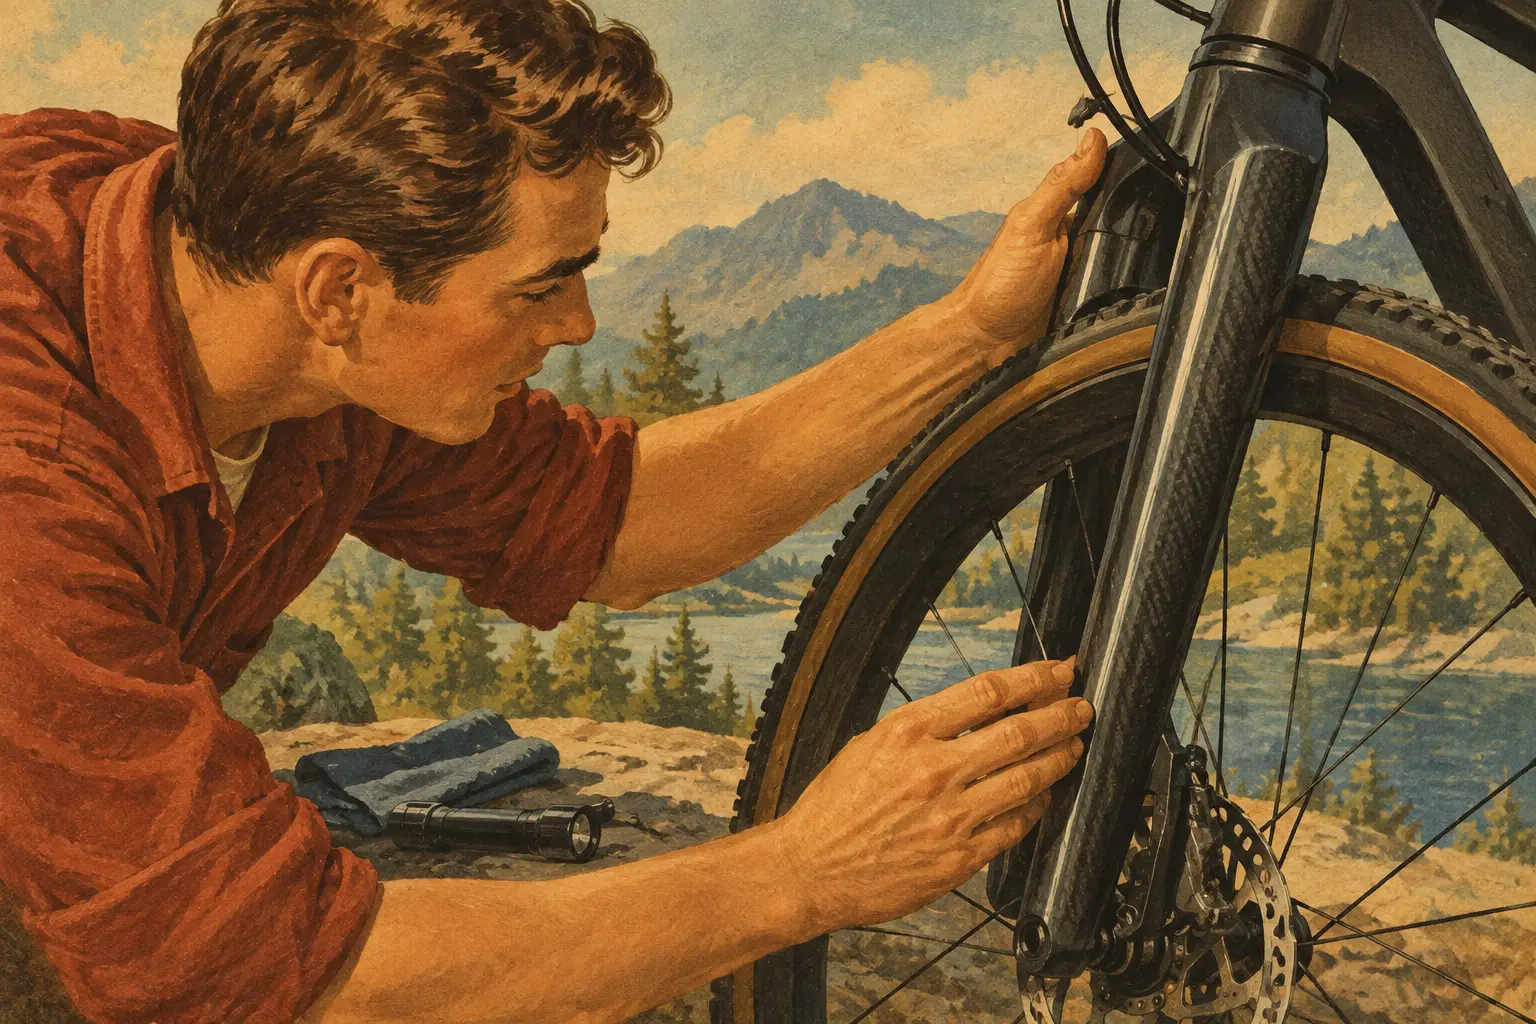
A carbon fork can look pristine after an incident that has damaged its structure. Unlike metal, it does not necessarily bend or show a clear dent before it loses strength. This carbon fork inspection guide is for riders who want to make sound decisions after a crash, a transport knock, persistent brake rub or an unexplained change in steering feel.
Carbon is an excellent fork material when it is designed correctly, fitted correctly and used within its intended loads. It can be light, accurate and remarkably fatigue resistant. But a fork is also a safety-critical component: it carries braking forces, steering inputs and repeated impacts while its steerer is clamped, loaded and often hidden inside the head tube. A quick glance in the garage is useful, but it is not a substitute for a disciplined inspection or, where evidence is uncertain, professional assessment.
Carbon fork inspection guide: start with the history
Before cleaning the fork, establish what has happened to it. A direct impact to the front wheel, a crash that drove the bars sideways, a bike falling onto the fork crown, roof-rack contact and an over-tightened stem can all create damage that deserves closer attention. The same applies if the wheel has jammed in a pothole or if the bike has been transported with the front end poorly supported.
Ask whether the riding feel changed afterwards. New vibration through the bars, a clicking sound while braking, wandering steering, brake rotor rub that returns after alignment, or a headset that repeatedly loosens are all useful clues. None proves a fork failure on its own. They do, however, give an engineer a better starting point than the phrase, “It seems fine.”
Do not continue riding a fork following a significant crash simply because there is no visible crack. Remove the front wheel, photograph any marks before cleaning them, and arrange an inspection if the impact involved the front end, especially at speed.
Clean it before judging it
Road film, dried sealant and polish can conceal fine cracks, lifting paint and abrasions. Wash the fork with mild bike cleaner and water, then dry it fully with a clean cloth. Avoid aggressive solvents unless the fork manufacturer specifically permits them, as some chemicals can affect paint, decals or bonded parts.
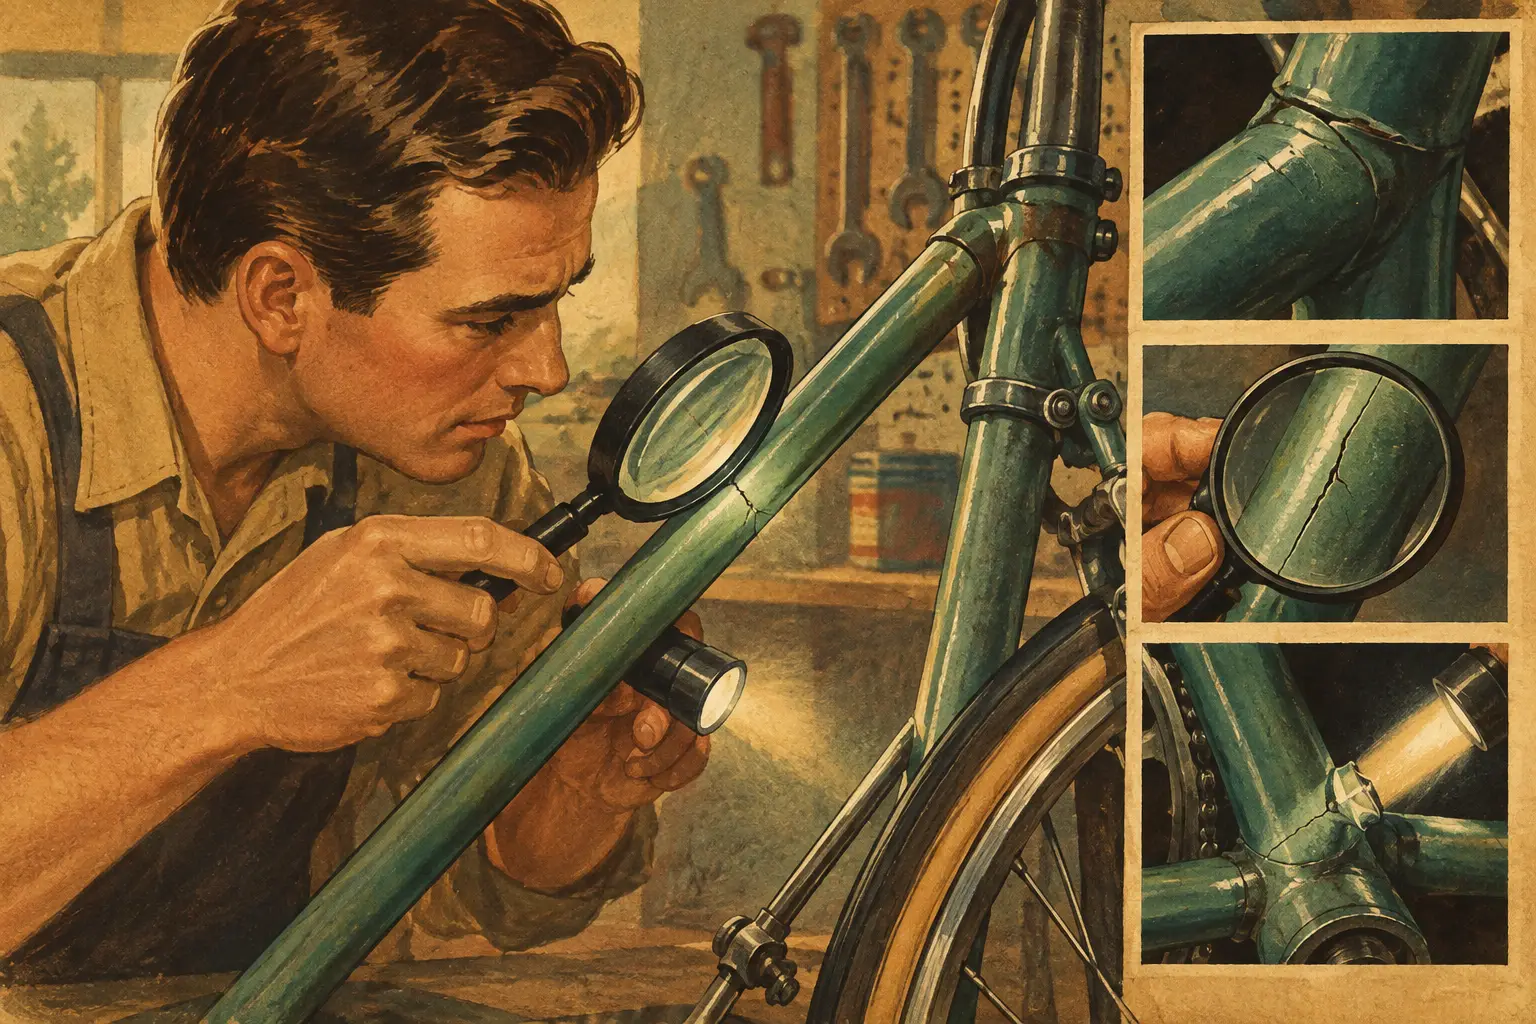
Use strong, angled light rather than relying on overhead workshop lighting. A bright torch moved slowly across the surface will reveal changes in reflection that are easy to miss head-on. Inspect both sides of each leg, the rear faces, the crown, dropout areas and the underside where debris is thrown from the tyre.
A superficial paint chip is not automatically structural damage. If the mark is small, stable and clearly confined to paint, it may be cosmetic. The judgement changes if there is a sharp impact mark, crushed fibres, a crack running beyond the chip, whitening in a clear-coated area, or a soft-looking depression around the damage.
Examine the high-load areas methodically
Steerer tube and stem clamp zone
The steerer deserves particular care because much of it is concealed. Remove the stem and spacers where practical, then inspect the full clamping area and the section above and below it. Look for cracks, longitudinal splits, a visible ridge, local crushing, fretting marks or a change in surface finish.
Carbon steerers are vulnerable to incorrect assembly. Excessive stem bolt torque, a sharp-edged spacer, a stem with poor bore finish, too little steerer extending above the stem, or an incorrectly positioned compression plug can concentrate stress. A star nut must never be driven into a carbon steerer. If you find one, stop and have the assembly assessed.
Check that the compression plug is the correct type, length and position for the fork. The top-cap preload should remove headset play before the stem bolts are tightened; it is not a bolt to pull a loose or incorrectly cut steerer into submission. Use a calibrated torque wrench and the component manufacturer’s specified setting, not a guess based on feel.
Crown and fork-leg transitions
The crown-to-leg and crown-to-steerer transitions manage substantial braking and impact loads. Inspect for cracks in paint, ripples, local swelling, crushed areas and lines that appear to follow the fibre direction. Pay attention to the rear of the crown, where mud and cables can obscure damage.
Run clean fingertips gently over suspicious marks. A raised edge, a depression or a local change in stiffness is more concerning than a smooth surface scratch. Do not attack the area with a pick, knife or abrasive paper. Removing material may obscure evidence and can make later assessment harder.
Dropouts, axle interfaces and mounts
Remove the wheel and inspect both dropouts or the thru-axle bore. Check for cracking around the axle interface, damaged threads, chipped bonding material and wear caused by a loose axle. On disc-brake forks, inspect the caliper mount and the leg around it for cracks or distortion. Recurrent rotor rub can come from a loose headset, worn hub bearings or poor wheel dishing, but it can also indicate movement that should not be ignored.
For rim-brake forks, inspect the brake bolt hole, the surrounding crown area and both brake pads. A tyre or cable rubbing through paint may be harmless, whereas a crack emerging from a brake mounting hole is not. Check clearance too: a tyre that is too large for the fork can abrade carbon from the inside over time, especially in gritty UK winter conditions.
Listen, feel and check alignment
A visual inspection is only one part of the process. With the bike assembled correctly, apply the front brake and rock the bike gently forwards and backwards. Feel at the headset and crown for movement. Then lift the front wheel and turn the bars slowly. Steering should be smooth, without a notch, bind or cable-induced pull.
Squeeze each fork leg with moderate hand pressure only. Comparing left and right can reveal an obvious difference, but do not mistake a dull tap sound for a reliable test. Coin tapping and home acoustic tests can occasionally identify a clear delamination, yet they are heavily dependent on shape, lay-up, paint thickness and the person performing them. They are screening tools, not certification.
Check wheel alignment with the axle fully seated and tightened to specification. A wheel that appears off-centre may be a dish issue rather than a fork issue. Equally, do not bend, cold-set or force-align a carbon fork. Carbon structures are engineered around defined load paths; correction by force is not a repair method.
Know the difference between monitoring and stopping
A small, stable paint blemish away from a high-load area can often be documented, protected and monitored. Photograph it with a ruler for scale, record the date and inspect it after several rides. This is sensible preventative maintenance, not complacency.
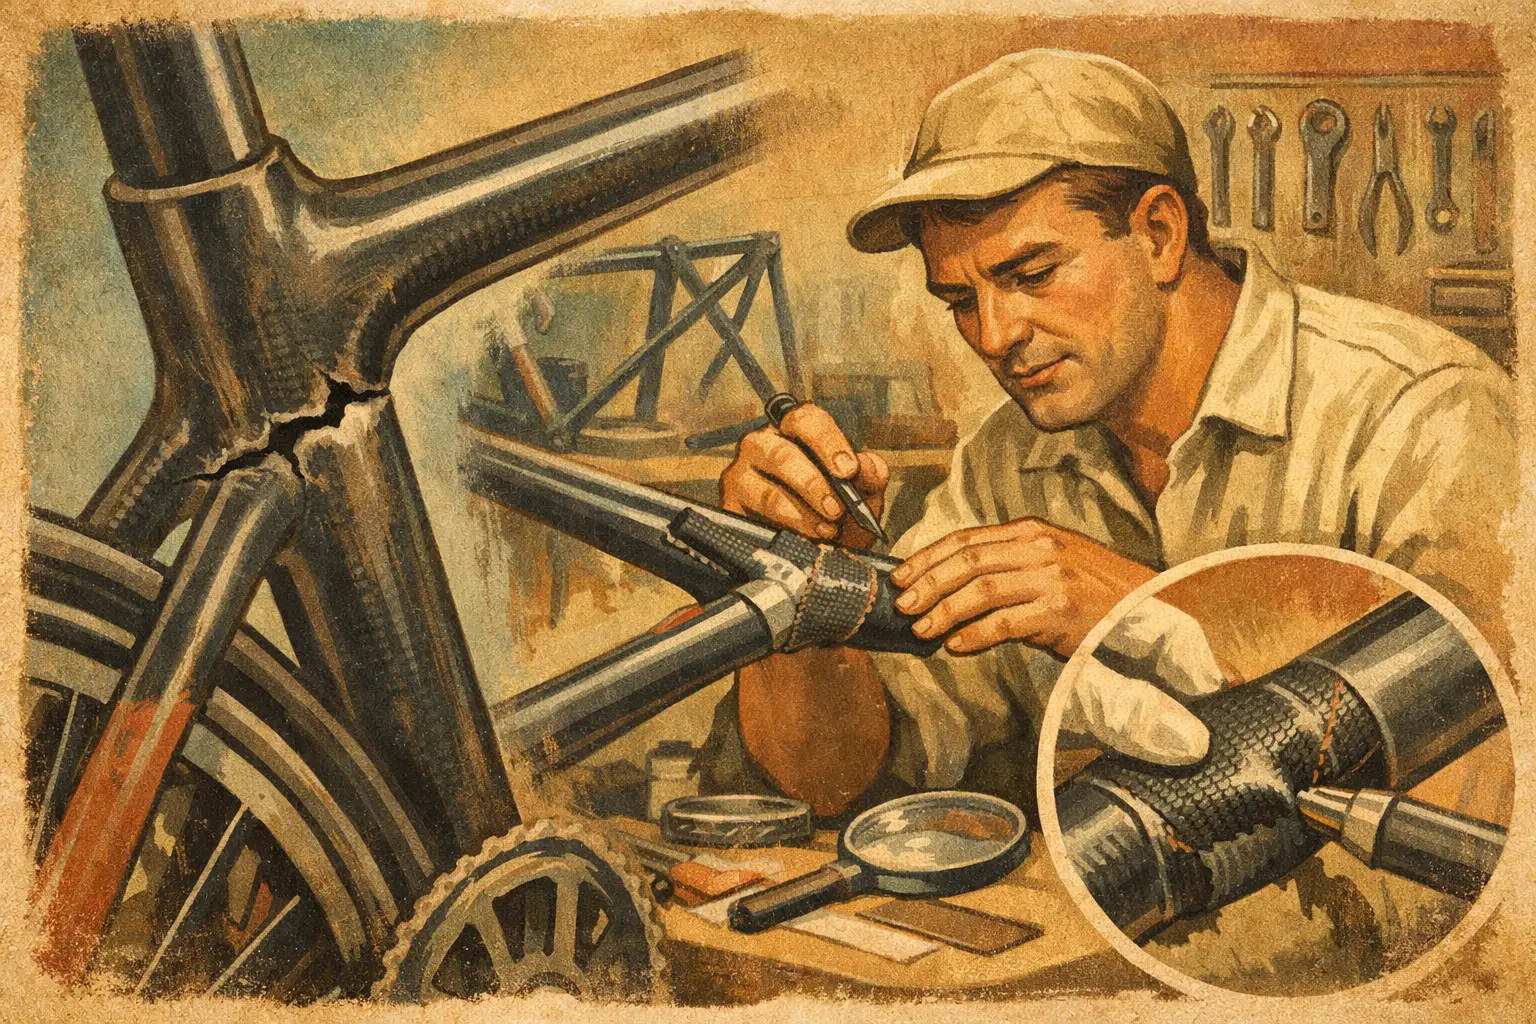
Stop using the fork immediately if there is a visible crack, exposed or splintered fibre, crushing, delamination, a damaged steerer, unexplained movement at the crown, or a significant front-end impact with uncertain consequences. Do not cover suspect damage with tape, resin, paint or lacquer before it has been assessed. Cosmetic concealment turns a diagnosis into guesswork.
Whether a carbon fork is repairable depends on its construction, the damaged area, the failure mode and the manufacturer’s requirements. Some local damage may be repairable by a specialist with appropriate structural knowledge and process control. Damage near the steerer, crown or critical bonded interfaces often calls for a more cautious decision. Replacement can be the correct engineering outcome, even when the damage looks modest.
Prevent the faults an inspection often finds
Many fork problems begin at installation rather than on the road. Use the specified headset parts, correct compression plug, appropriate spacer arrangement and a stem with a compatible clamp diameter. Keep the steerer clamping surfaces clean, assemble with the products specified by the component manufacturers, and tighten bolts evenly with a torque wrench.
Avoid clamping a carbon fork leg in a workstand. Support the bike by the frame or use a secure axle-based support. When travelling, remove the front wheel if required by the carrier and fit a proper fork spacer or axle to prevent the dropouts being compressed. Never leave the bike where a vehicle door, garage clutter or another bicycle can fall across the bars.
At Ewhurst Bikes, a structural inspection is approached as a fault-finding exercise, not a cosmetic verdict. The aim is to understand the loading event, the assembly details and the evidence around the component before advising whether continued use, repair or replacement is the safe route.
Treat an uncertain fork as a reason to pause, not a challenge to ride through. A prompt, documented inspection protects more than an expensive component: it preserves the steering precision and confidence that make a well-set-up bike worth riding.



Leave A Comment